DIY Foot Spa: A Step-by-Step Guide for Ultimate Relaxation
In the midst of our hectic daily lives, our feet often bear the brunt of our activities. They carry us from place to place, enduring countless steps and supporting our weight day in and day out. After all this hard work, our feet deserve some pampering and care. While a visit to a spa is a delightful option, you can recreate the magic in the comfort of your home with a DIY foot spa.
This detailed guide walks you through seven simple steps to give your feet the relaxation they deserve.
Table of Contents
- Step 1: Assemble Your Foot Spa Kit
- Step 2: Prepare the Foot Soak
- Step 3: Soak and Relax
- Step 4: Exfoliate and Renew
- Step 5: Moisturize and Rejuvenate
- Step 6: The Final Flourish
- Step 7: Revel in the Afterglow
Step 1: Assemble Your Foot Spa Kit
Before you begin, gather all the necessary supplies for your at-home foot spa experience:
✅ A basin or tub large enough for your feet
✅ Warm water
✅ Epsom salts, sea salt, or bath salts for relaxation and skin softening
✅ Essential oils (lavender, peppermint, or eucalyptus for a soothing aroma)
✅ A soft, fluffy towel
✅ A pumice stone or exfoliating foot scrub
✅ A rich moisturizing foot cream
✅ Nail clippers, a file, and a cuticle pusher (optional)
Step 2: Prepare the Foot Soak
Fill your basin with warm water, ensuring it’s at a comfortable temperature. Add a generous amount of Epsom salts, sea salt, or bath salts to the water. These help to relax tired muscles and soften the skin, making exfoliation easier. Enhance the experience by adding a few drops of essential oil, creating a calming, spa-like atmosphere.
Step 3: Soak and Relax
Submerge your feet in the warm water and take a moment to unwind. Settle into a comfortable chair, read a book, play some soft music, or simply enjoy the tranquility. A 15-20 minute soak will relieve tension, ease soreness, and prepare your feet for exfoliation.
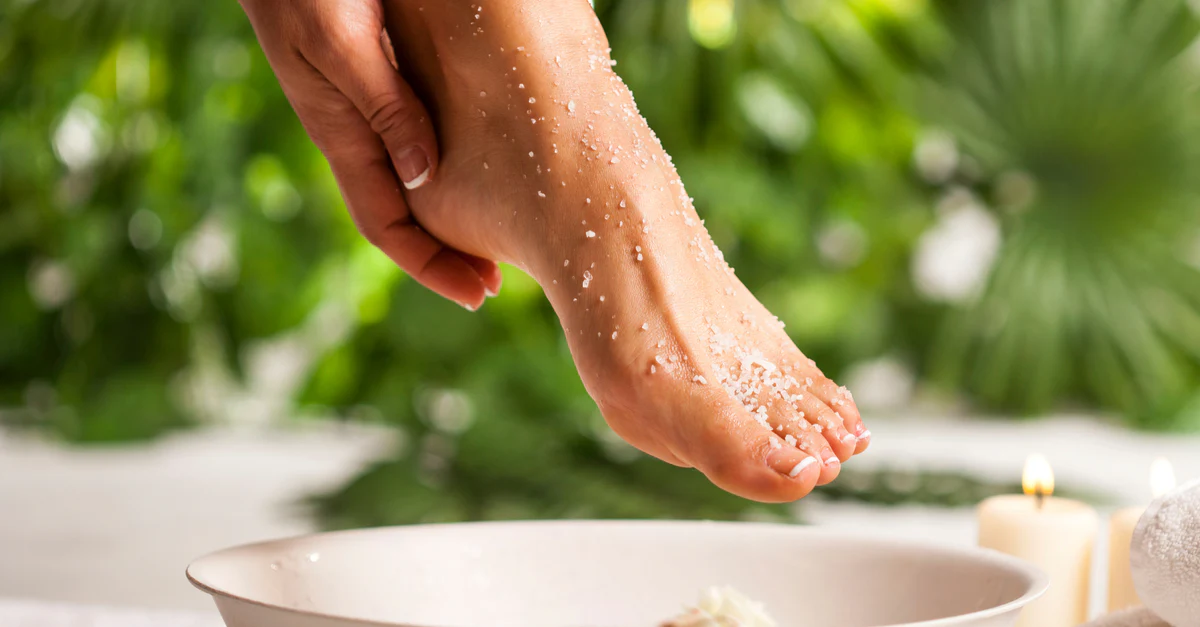
Step 4: Exfoliate and Renew
Once your feet are softened, use a pumice stone or foot scrub to gently remove dead skin and calluses, focusing on areas like the heels and balls of your feet. Be thorough but gentle to avoid irritation. This is also a great time to trim and file your nails for a neat, polished look.
Step 5: Moisturize and Rejuvenate
Now that your feet are smooth and refreshed, apply a generous amount of foot cream or lotion. Massage it into your feet and calves, improving blood circulation and providing much-needed hydration. This step will leave your feet soft, nourished, and revitalized.
Step 6: The Final Flourish
For the finishing touch, gently push back your cuticles, trim and file your nails, and—if you’d like—apply a coat of nail polish for an elegant touch.
Step 7: Revel in the Afterglow
After your DIY foot spa session, your feet will feel light, refreshed, and rejuvenated. You’ll experience a renewed sense of relaxation, ready to take on whatever adventures lie ahead.
By following these simple steps, you can enjoy a luxurious spa-like treatment at home anytime you need to unwind. Remember, taking care of your feet isn’t just a luxury—it’s essential for overall well-being. After all, happy feet make for a happier you! 😊💆♀️