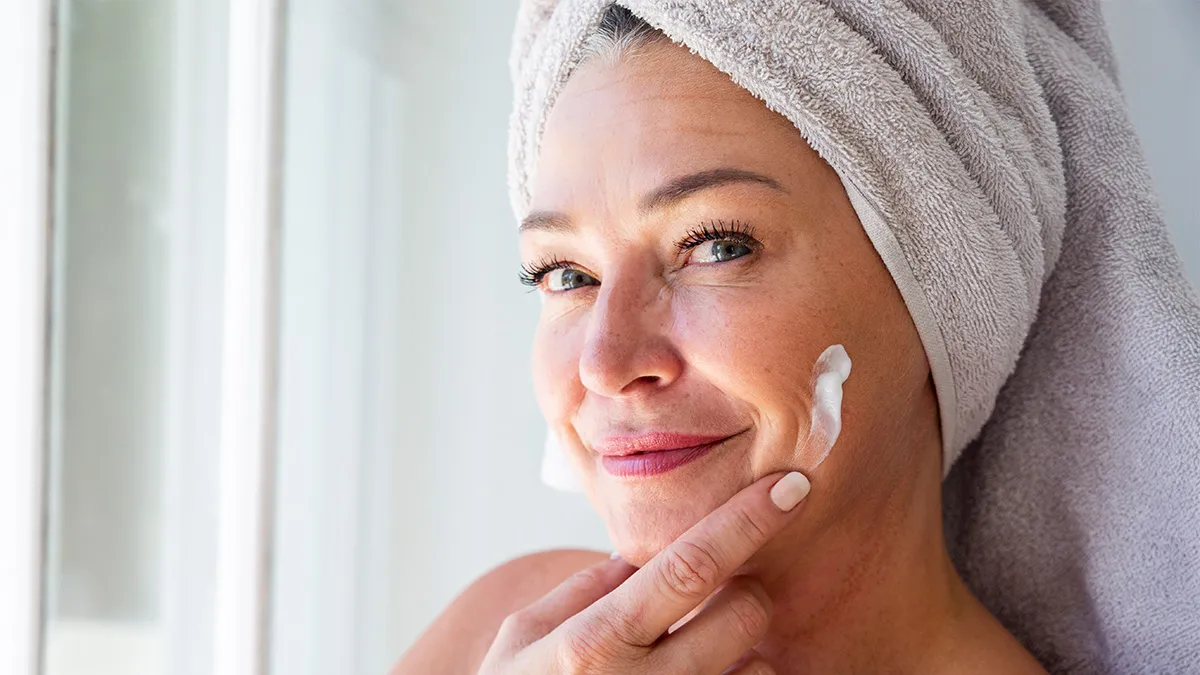
🚨 Warning: Major Glow Ahead! 🚨
Ever wished for that effortless, radiant glow celebrities always seem to have? Dreaming of a spa-like facial but not ready to drop a fortune at the salon? No worries, I’ve got your back!
With the right products and a little self-care magic, you can achieve glowy, healthy skin right at home—without breaking the bank. So, light your favorite candle, put on some soothing music, and let’s dive into the ultimate DIY facial!
What You Need for an At-Home Facial
Before we begin, gather these essentials:
✔️ Makeup remover
✔️ Non-comedogenic oil (like coconut or jojoba oil)
✔️ Face wash/cleanser suited to your skin type
✔️ Exfoliating scrub (physical or chemical)
✔️ Steamer (or bowl + towel)
✔️ Blackhead remover (optional)
✔️ Face mask (store-bought or homemade)
✔️ Toner
✔️ Moisturizer
✔️ Cotton pads
Now, let’s get glowing! ✨
Step-by-Step Guide to a Flawless At-Home Facial
1. Deep Cleanse Your Skin 🧼
A clean face is the foundation of any great skincare routine. Double cleansing removes dirt, oil, and makeup, allowing your skin to fully absorb the benefits of your facial.
💧 How to Cleanse Like a Pro:
✔️ Remove makeup using a cotton pad and your favorite makeup remover.
✔️ Massage a cleansing oil onto your face to break down dirt and sebum.
✔️ Finish with a gentle face wash to ensure a thorough cleanse.
💡 Pro Tip: Use a gel cleanser for oily skin and a cream-based one for dry skin.
2. Steam for Pore Perfection 🌿
Steaming softens your skin, opens your pores, and preps it for deeper cleansing.
🔥 DIY Facial Steaming:
✔️ Boil water and pour it into a bowl.
✔️ Place a towel over your head and steam your face for 5-10 minutes.
✔️ For an extra spa vibe, add herbs like lavender or chamomile.
Now your skin is perfectly prepped to tackle blackheads and absorb skincare products better!
3. Exfoliate for Smooth, Radiant Skin ✨
Exfoliation removes dead skin cells and unclogs pores, giving you an instant glow.
🧴 How to Exfoliate:
✔️ Use a physical scrub (sugar or oatmeal-based) or a chemical exfoliant (AHA/BHA).
✔️ Massage gently in circular motions for 2-3 minutes.
✔️ Focus on areas prone to blackheads (like your nose and chin).
💡 Pro Tip: Over-exfoliating can irritate your skin—stick to twice a month for best results!
4. Pamper Your Skin with a Face Mask 🎭
Now that your skin is prepped, it’s time to nourish it with a hydrating, brightening, or purifying mask.
💖 Best Face Masks for Your Skin Type:
✔️ Dry Skin: Hydrating masks with honey, yogurt, or aloe vera.
✔️ Oily/Acne-Prone Skin: Clay masks like bentonite or Multani mitti.
✔️ Dull Skin: Brightening masks with turmeric or vitamin C.
Apply your chosen mask, sit back, relax, and let it work its magic for 15-20 minutes. For the full spa experience, place two cucumber slices over your eyes! 🥒
5. Lock in Moisture and Glow 💦
Your skin is now fresh, clean, and radiant—let’s keep it that way!
🌿 Final Steps to Seal the Deal:
✔️ Apply a toner to restore pH balance.
✔️ Use a hydrating serum for extra nourishment.
✔️ Lock everything in with a good moisturizer.
✔️ If it’s daytime, don’t forget sunscreen!
💡 Moisturizer Guide:
✔️ Oily Skin: Opt for a lightweight, gel-based formula.
✔️ Dry Skin: Go for a richer, cream-based moisturizer.
Gently massage everything into your skin using upward circular motions—this boosts circulation and enhances your glow!
DIY At-Home Facial Using Natural Ingredients 🌿
Want to go all-natural? You can create a luxurious facial using simple ingredients from your kitchen!
1. Homemade Cleansers
✔️ Dry Skin: Honey + Cream
✔️ Oily Skin: Honey + Lemon
✔️ Sensitive Skin: Raw Honey
2. DIY Exfoliators
✔️ Oily Skin: Oatmeal + Yogurt + Honey
✔️ Dry Skin: Coconut Oil + Sugar
✔️ Sensitive Skin: Oatmeal + Banana
3. Nourishing Face Masks
✔️ Brightening: Gram Flour + Turmeric + Yogurt
✔️ Hydrating: Mashed Banana + Yogurt + Rice Powder
✔️ Acne Control: Multani Mitti + Sandalwood Powder + Honey
4. Natural Toners
✔️ Rosewater (Best for all skin types!)
✔️ Cucumber Juice
✔️ Green Tea
✔️ Aloe Vera Gel + Water (1:3 ratio)
Now, you’re all set for a glowing, healthy complexion—naturally! 🌿
FAQs: Your At-Home Facial Questions Answered
❓ How often should you do a facial at home?
Twice a month is ideal for maintaining clear, radiant skin.
❓ What’s the difference between a facial and a cleanup?
A facial includes deep cleansing, exfoliation, a mask, and a massage. A cleanup is a quicker process focused on basic cleansing and exfoliation.
❓ When can I wear makeup after a facial?
Wait at least 24 hours to allow your skin to fully absorb nutrients and recover.
Final Thoughts: Glow Like a Goddess! 👑✨
And there you have it—a simple yet powerful at-home facial routine that will leave your skin looking fresh, healthy, and radiant.
Consistency is key, so pamper yourself regularly! And don’t forget to share this glow-up guide with your besties—because glowing skin is even better when shared. 💖
Now go forth and GLOW, beautiful! 🌟💆♀️
